
Student Blackboard Home Student Training Home OIR Home
Panopto is the Wichita State supported video and lecture capture tool. Your professor might use it to record videos and assign video submissions. Recordings in Panopto are viewable on most Web browsers and mobile devices. Choose a topic below for information and additional resources.
Panopto Help
Do I need to download Panopto?
For most student use, the browser version of Panopto (Panopto Capture) is sufficient. This allows students to view videos and record and upload directly in a browser without needing to download anything.
The Panopto Recorder includes all of the features of the browser version and allows for offline recording. To download, see the instructions below.
Download the Panopto Recorder
Downloading the Panopto Recorder allows the users to download the recorder software to create videos from their destop. The recorder can be used to upload created videos immediately, or videos can be created "off-line" and uploaded at a later date. This can be beneficial for those that may have low bandwidth/unstable connection, or who need to create videos during times when internet access is limited, such as during travel.
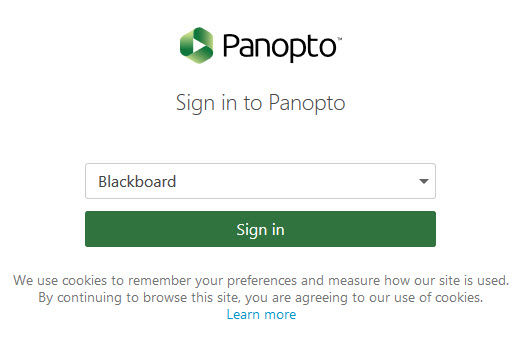
To download the Panopto recorder, start by opening a new browser tab. Navigate to wichita.hosted.panopto.com. Make sure the dropdown menu has “Blackboard” selected and then click the sign-in button, and sign in with your Blackboard credentials.
Select "Create" and then "Panopto for Windows"

Choose the correct version for your system and select "Download Installer." Run the .exe file to install.
Panopto Video Player
Videos embedded in a course will play in Blackboard. Depending on the settings of the video (which are determined by the creator), you might see the following:

Videos that open a new browser window have the same options.
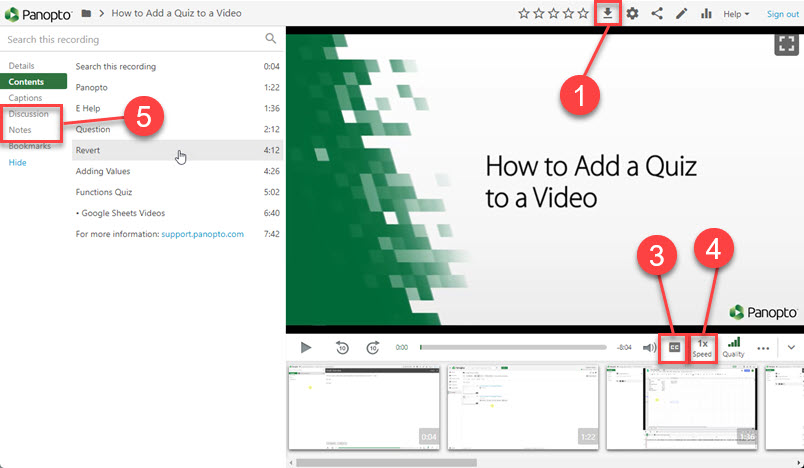
- Download: allows you to download the video and save it to your computer
- Watch in Panopto: opens a new browser window and plays the video in Panopto Web viewer
- Closed Captions: toggles captions on and off
- Speed: allows you to change the playback speed from 0.5x to 2x
- Discussion/Notes: expands to open discussion (if allowed) and notes
Creating a video with the Panopto recorder is different depending on whether you are using a PC or a Mac.
In order to create a video, you will need to check your recording settings.
Creating a Video with a PC
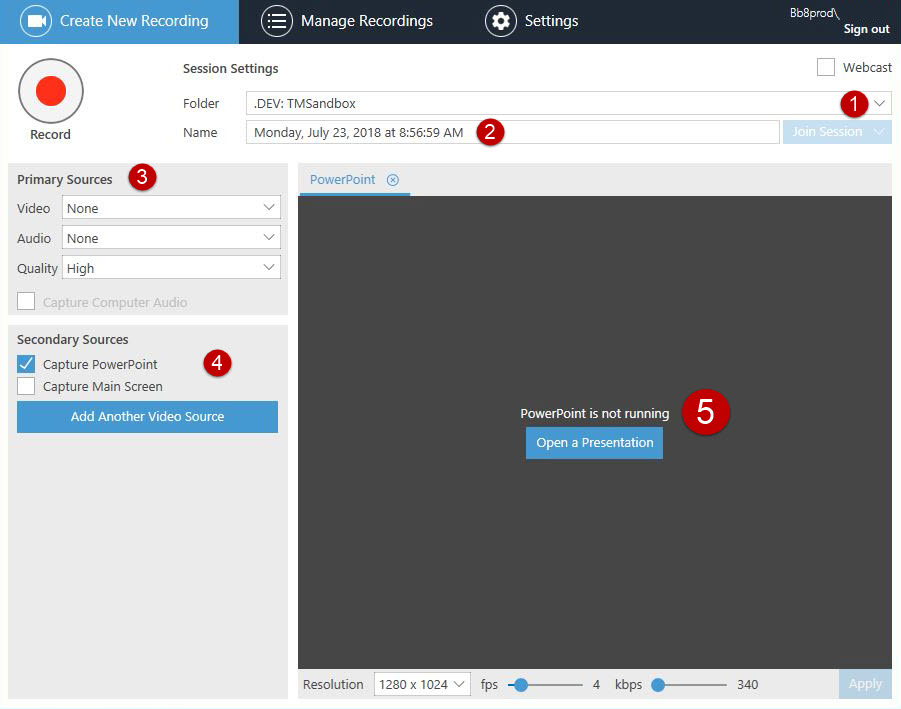
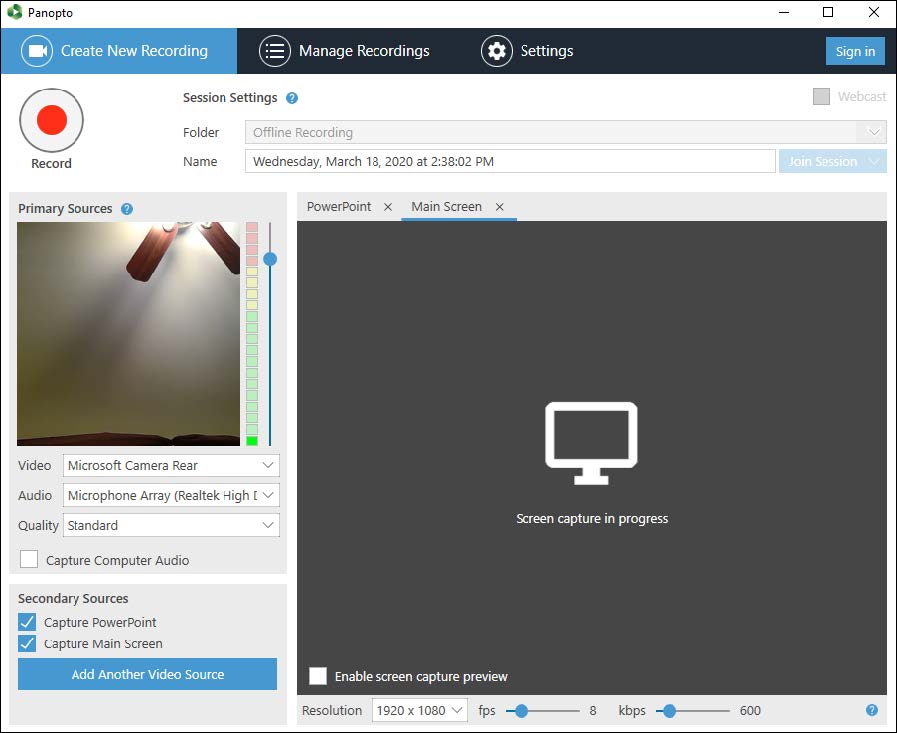
- IMPORTANT STEP! Select the proper folder from the folder dropdown. If thevideo is for an assignment, please see the section on Creating a Video for anAssignment and make sure you are in the correct folder for your course beforegoing any farther.
- In the name box, directly under the “folder” dropdown, provide a unique anddescriptive name for your video. It is not recommended that you leave the pre-filled name of the date and time, since it can make it quite difficult to search forand locate your video in the future.
- In the Primary Sources channel box, select your primary video, audio, quality,and if you want your computer audio captured. Your computer audio is thesounds your computer makes (as opposed to the sounds you make that arecaptured by the microphone). If you would like sounds made by the software youare using to be a part of your recording, make sure this is selected.
- In the Secondary Sources channel box, select or deselect as needed foradditional video sources. For instance: You are recording a lecture in which youare using PowerPoint slides. You want your students to be able to see both youand the slides in the video. In this case, your primary source for video will be acamera you select and the secondary source will be “capture PowerPoint.”
- If you are using a PowerPoint, click on the “Open a PowerPoint” button to choose your presentation.
Creating a video with a Mac
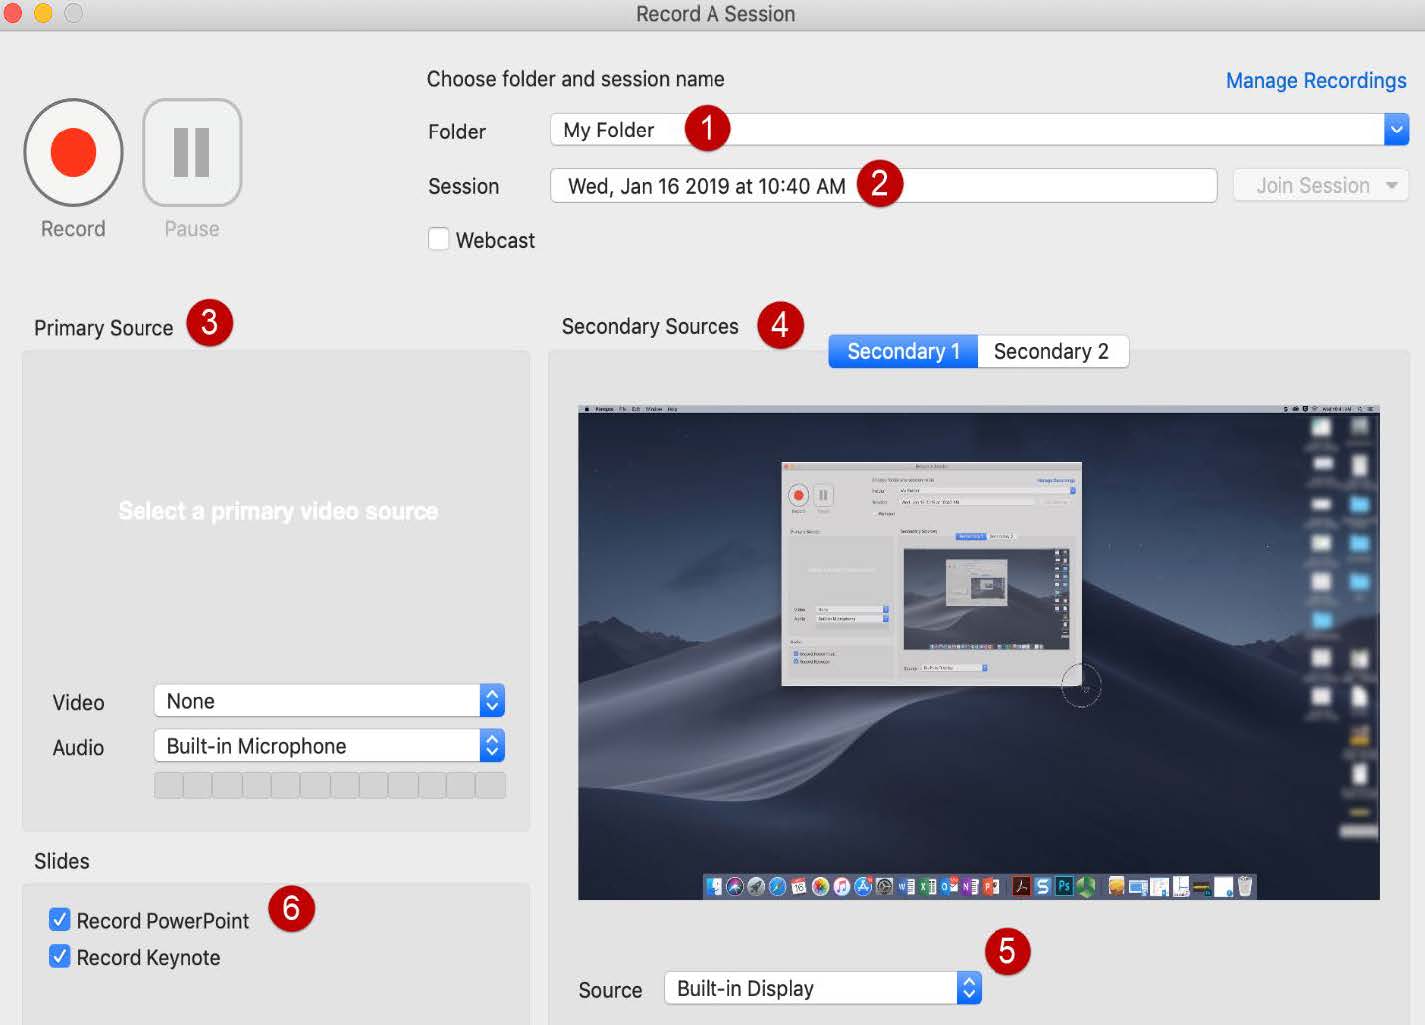
In order to create a video with a Mac, you will first need to check your recording settings.
- IMPORTANT STEP! Select the proper folder from the folder dropdown. If thevideo is for an assignment, please see the section on Creating a Video for anAssignment and make sure you are in the correct folder for your course beforegoing any farther.
- In the name box, directly under the “folder” dropdown, provide a unique anddescriptive name for your video. Again, it is not recommended that you leave thepre-filled name of the date and time, since it can make it quite difficult to searchfor and locate your video in the future.
- Under Primary Sources, select your primary video and audio.
- Select secondary source 1 and secondary source 2, if desired.
- If you do not want to record your desktop, change the source dropdown to“None.”
- If you are using PowerPoint or Keynote slides, select and deselect as neededunder the “slides” section
Recording
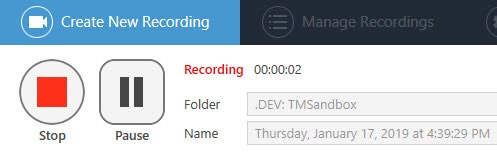
Make sure the “Create New Recording” tab is selected; it should be highlighted.
If you’re using a PowerPoint in your video, you will have the choice of automatically entering “Fullscreen/Presentation” mode when the recording starts. You will also be asked if you want to begin recording when the PowerPoint opens. These are entirely up to you. You may want to print a copy of your notes before you begin recording.
If you aren’t using PowerPoint slides, or if you choose to not enter into record mode automatically, click the round record button to begin recording. Stop and pause buttons will appear as well as a timer that counts in real-time.
Using “HotKeys” to record, pause, and stop a recording will help make your video seamless and reduce editing needs later on.
- To Record: F8 (PC); Option + Command + R (Mac)
- To Pause: F9 (PC); Option + Command + P (Mac)
- To Stop: F10 (PC); Option + Command + R (Mac)
When finished, stop the recording. You will now be asked if you want to delete and re-record (4) or upload (5). Remember, your video doesn’t have to be perfect, there are options for editing, which we’ll learn shortly.
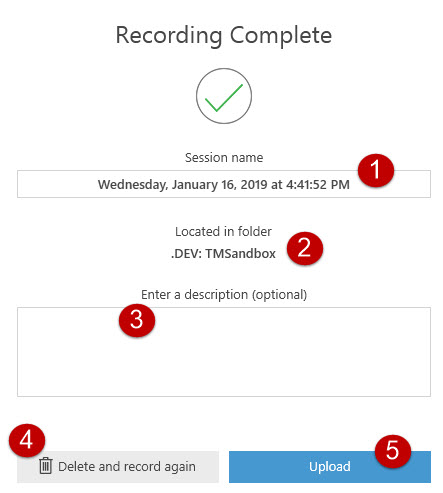
If you selected to Upload your recording, you will be redirected to the “Manage Recordings” tab.
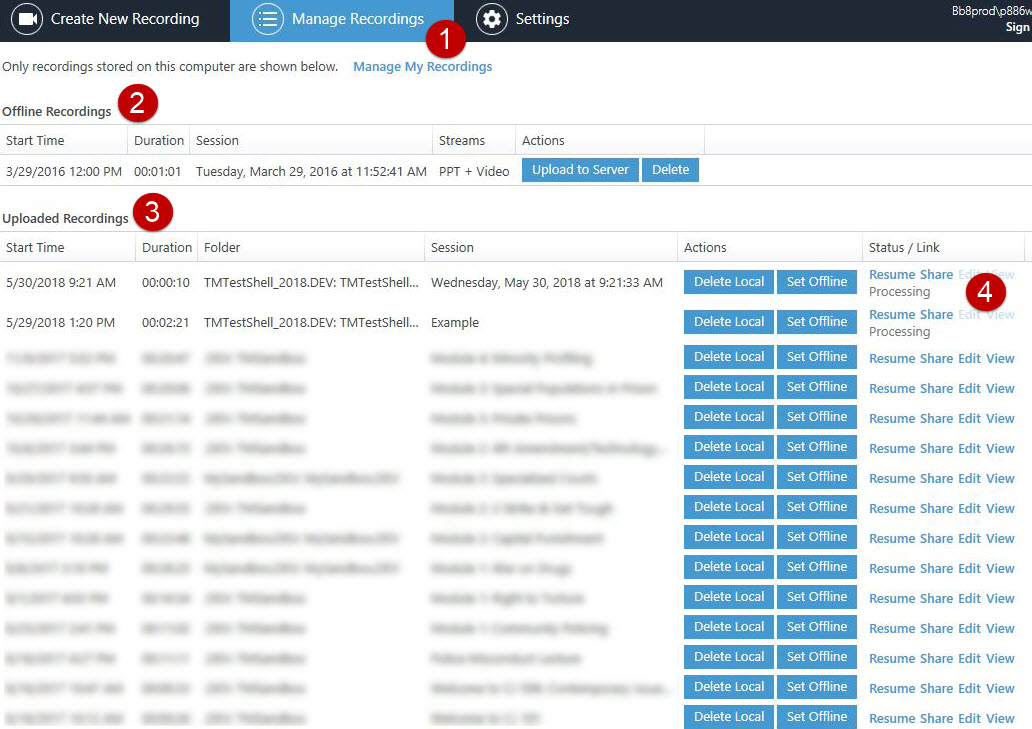
With Panopto, you have the ability to record without network connectivity. You can record audio, video, screen images, and slides. The video will be stored locally on the recording computer. These types of videos will be shown under “Offline Recordings.”
Recordings made while connected to a network, will show under “Uploaded Recordings.”
In the column on the far right you will see a progress bar showing the progress percentage of the recording you just uploaded. After it uploads, you will see four links: resume, share, edit, and view. Resume will return you to the recorder, the other three redirect you to the corresponding page in your Panopto account.
You have two ways of getting to the editor in Panopto.
- Select the edit link to the right of your video or…
- Navigate to wichita.hosted.panopto.com and login.
If you clicked on the edit link within the recorder, you will be automatically directed to the editing page.
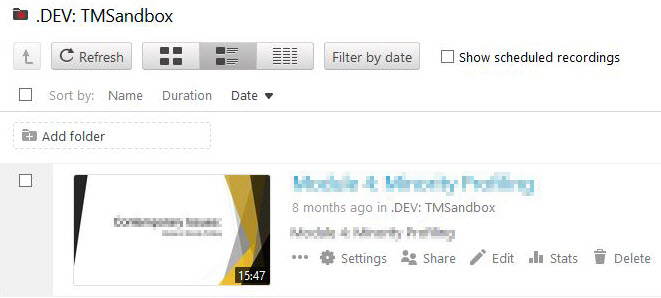
However, if you chose the navigation and login route, you still need to locate the video you wish to edit in your folder, mouse over it, and select “Edit.” Now you will be in the Panopto editor.
If you’re new to editing or worried that you might over trim and ruin your recording, don’t worry! Panopto operates on a non-destructive model – you can always undo a trim.
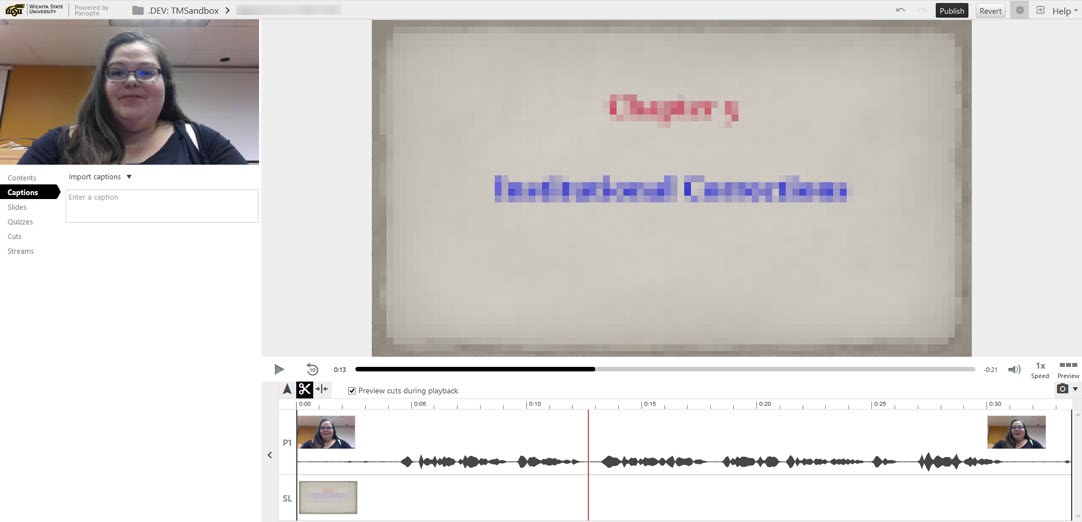
To begin trimming or cutting the video, select the scissors icon found in the ribbon above your timeline.

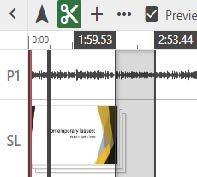
Move the mouse over the track until a grey line appears.
Click and drag in either direction to create a “cut.”
For more precise “cuts,” use the zoom tool to magnify the timeline for better cutting control.
All greyed out sections will be skipped or “cut” when the video is played.
During your recording, did you accidentally forget to click the next slide? Or Click a slide too quickly?
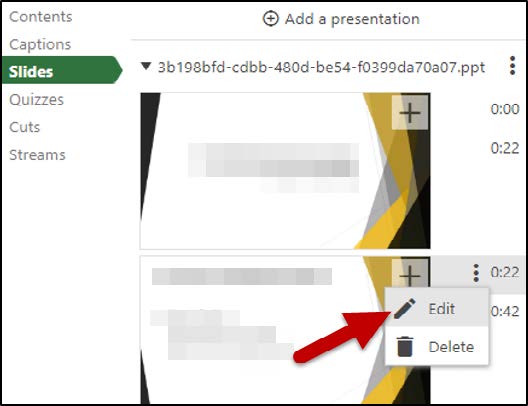
If that’s the case, on the left-side menu, select the “slides” button.
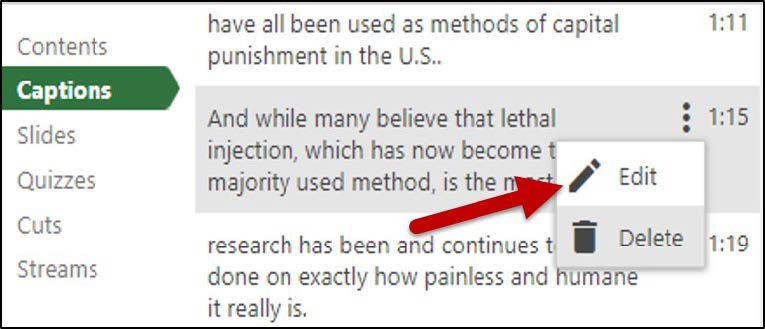
Mouse to the right of the slide you wish to edit and select the more icon, which looks like three vertical dots.
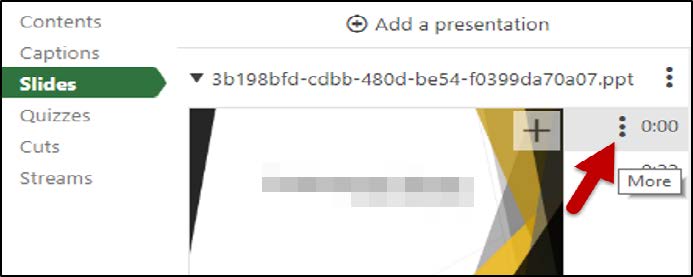
Select "edit."
In the time box, you can now edit the hour, minute, second, and fractional second the slide should appear.
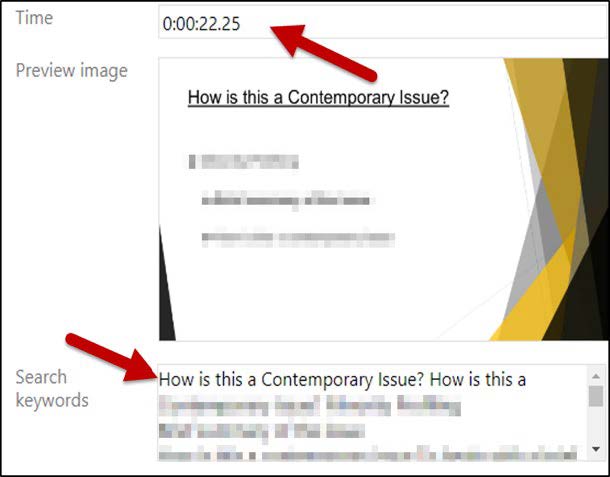
From this window, you can also edit the title and keyword search information if needed.
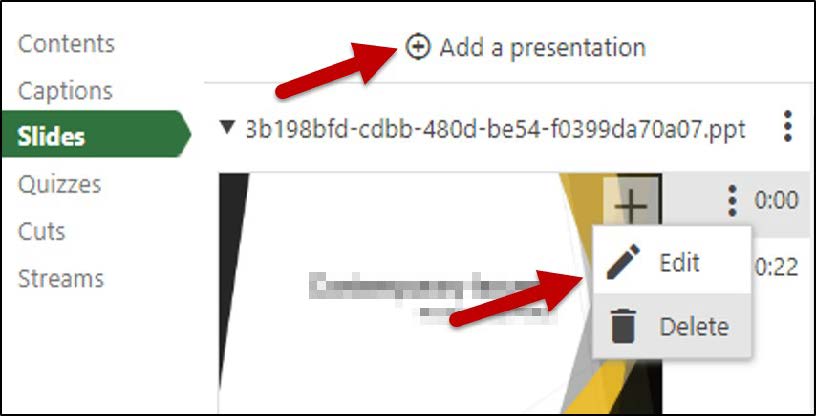
If you need to replace a slide, first delete the old slide.
Then, locate the round plus-sign button to the left of “Add a presentation” and select the slide or presentation you wish to add. If you only want one slide from your presentation added, you will need to save that slide as a separate presentation of one slide within PowerPoint.
Your slide or presentation will be added at the bottom of your slide deck. Edit the new slide’s timestamp to place it the appropriate location.
Video captions are essential for all learners to have access to the content, and Panopto offers the ability to import and edit automatic captions. This is a big convenience and time-saver; however, as with all automated captioning, the results are not 100% accurate and will need to be edited.
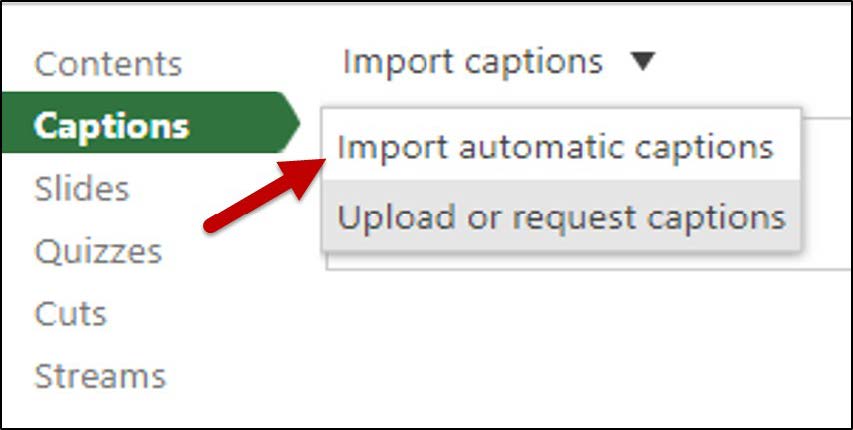
To add captions, select the “Captions” button in the left-side menu.
Using the dropdown menu, choose “Import Automatic Captions.”
Now that you have captions, let’s learn how to edit them, so all of your learner’s are provided with the same accurate information.
Once again, make sure the green “Captions” menu button has been selected.
When you mouse over the captions, three vertical dots appear to the right. Click on these and select “edit.”
In the captions box, make changes to your captions as needed and select “Save.”

Repeat this for all captions, until the entire recording is accurate.
Step 1: Access your Blackboard course for which you are creating a video.
Step 2: Click on the Panopto link. This may be in the navigation menu on the left or in the Tools area.
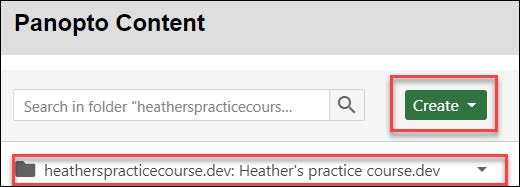
Step 3: IMPORTANT! Make sure you have selected the correct folder for your course in the dropdown menu. If you have not, your instructor will not be able to view your video. Next, click the “Create” dropdown menu.
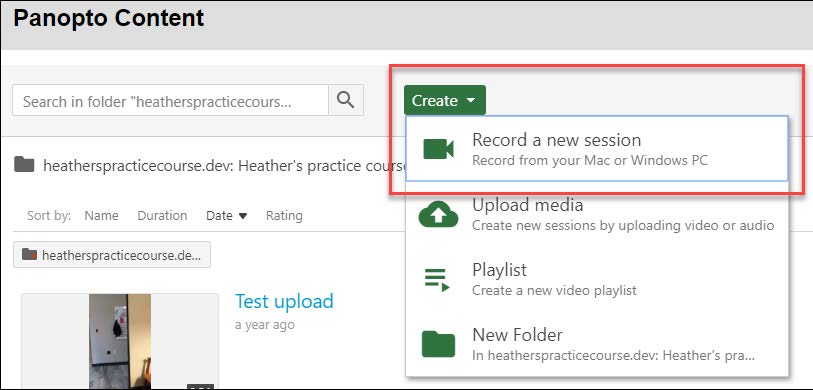
Step 4: Click on “Record a new session.”
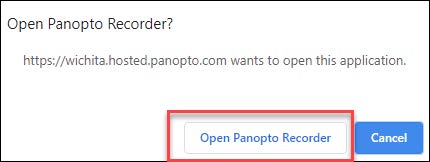
Step 5: Click “Open Panopto.” Note: If you have not downloaded the Panopto recorder, you have an opportunity to do so here.
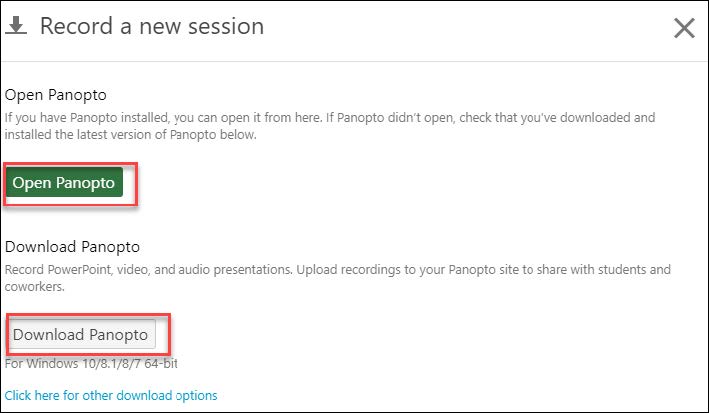
Step 6: A pop-up window will appear. Click “Open Panopto Recorder.”
Step 7: You should now see your Panopto recorder window open. Please refer to the Creating a Video sections above for details on using the recorder.
Submitting a Panopto Video for an Assignment
Step 1: Record or upload your video in Panopto.
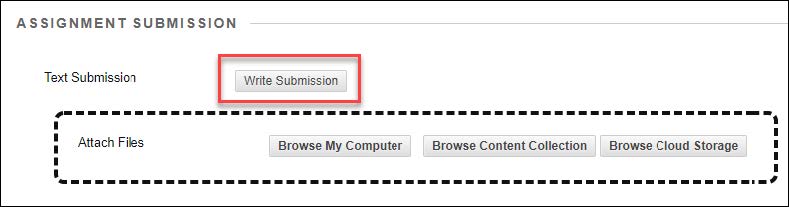
Step 2: Open the assignment in Blackboard and select Write Submission.
Blackboard Original
Blackboard Ultra

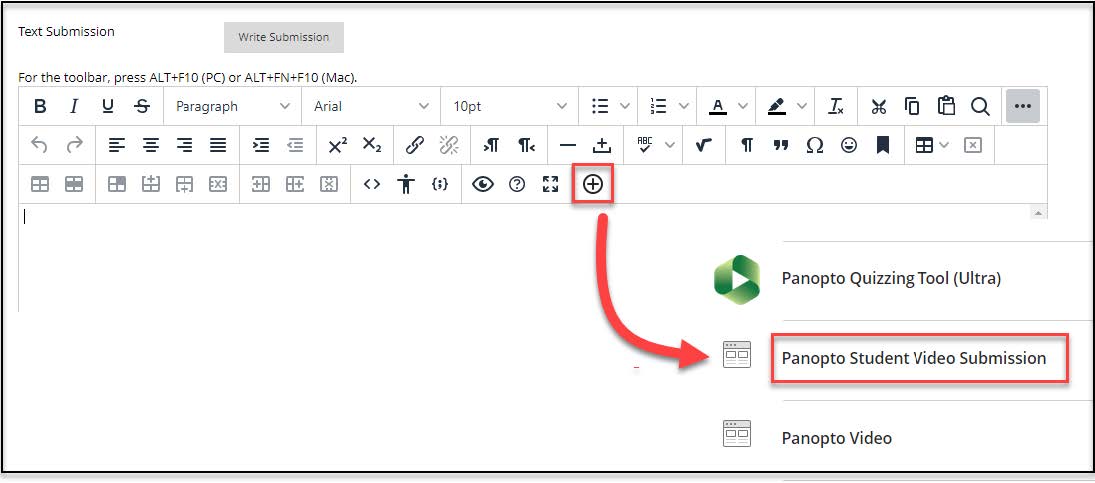
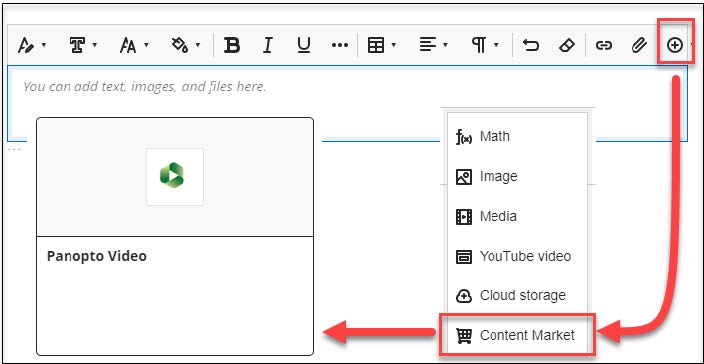
Step 3 Original: In the text editor, select the plus sign and navigate to Panopto Student Video Submission.
Step 3 Ultra: In the text editor, select the plus sign, choose "Content Collection," and navigate to the Panopto tool (the name might vary).
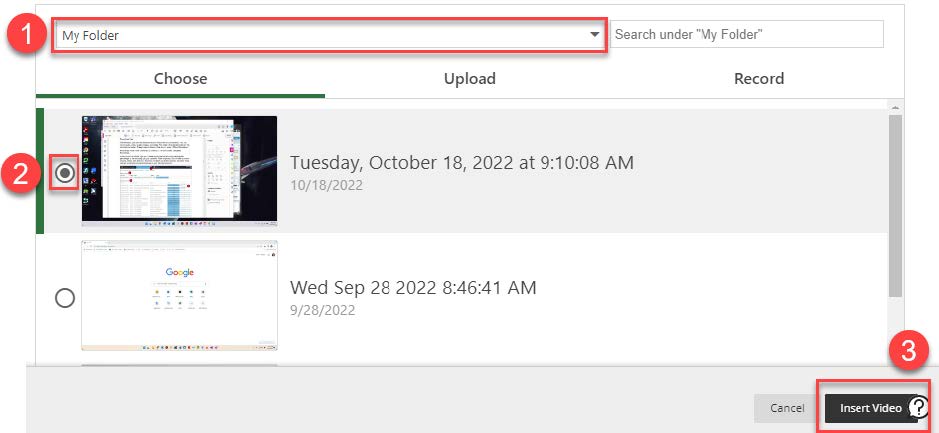
Step 4: A window will open to show the videos in your personal folder. If your video is located in a different folder, select the correct folder from the drop-down at the top. (1)
Step 5: Select the video you wish to submit (2) and click Insert. (3)
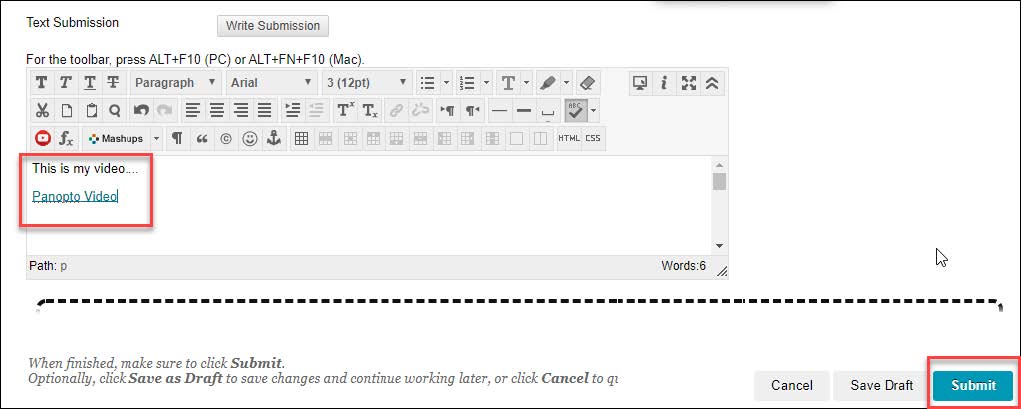
Step 6: Your video will be added to the submission. Add any extra information and Submit.
Install App and and Sign in
Step 1: Access the Google Play Store and search for Panopto.
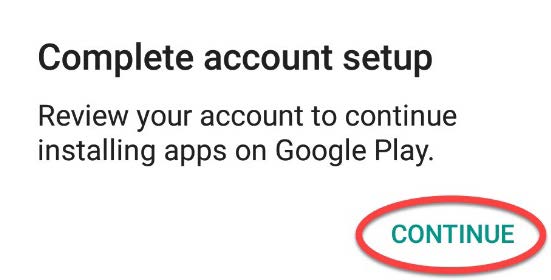
Step 2: Click install, then continue.
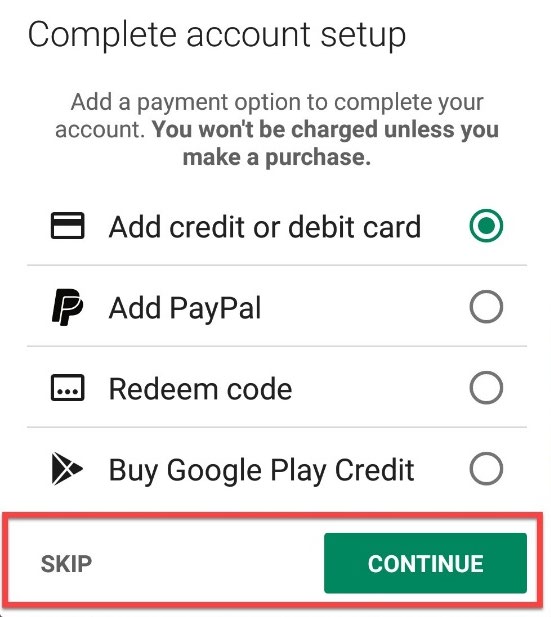
Step 3: The Panopto App is free. Select “skip.”
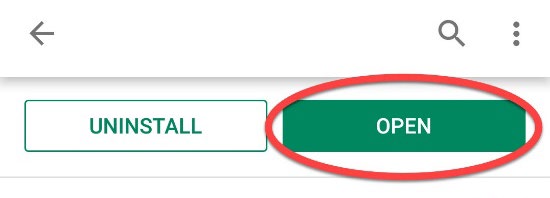
Step 4: After the app has downloaded click “open.”
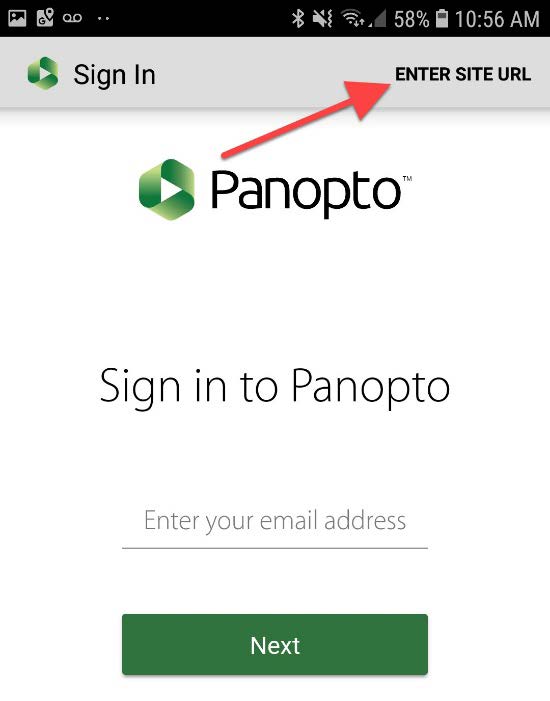
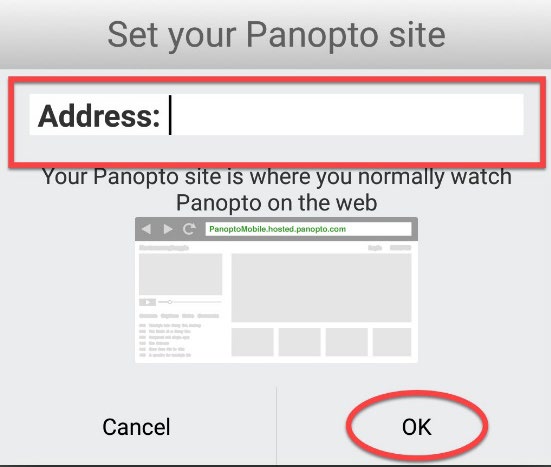
Step 5: Do not enter your email address on this page. Select “Enter Site URL” in the upper-right corner.
Step 6: In the blank address box, enter “wichita.hosted.panopto.com” and click “okay.”
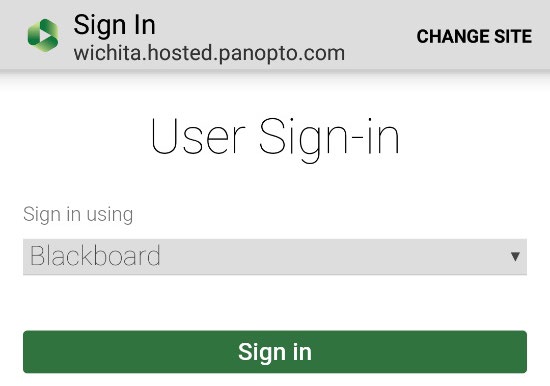
Step 7: Select “Blackboard” from the dropdown menu, if it did not automatically appear. Click the “Sign-in” button.
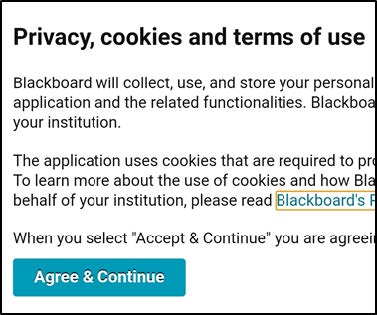
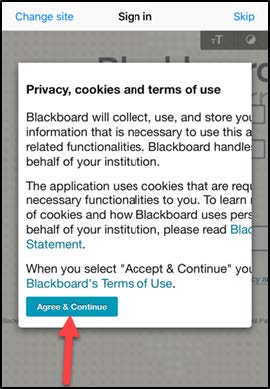
Step 8: Click the “Agree and Continue” button to accept Panopto’s terms of use.
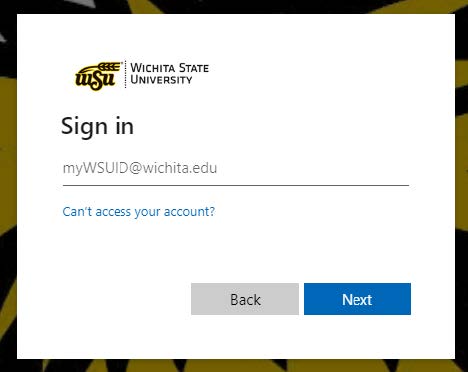
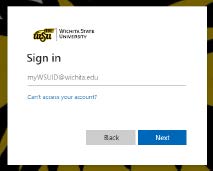
Step 9: Sign-in using your Blackboard credentials, and click the “Login” button.
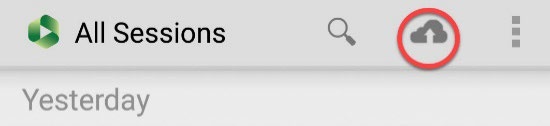
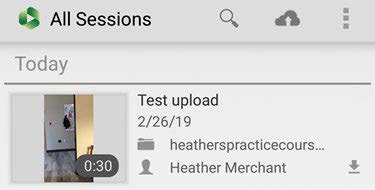
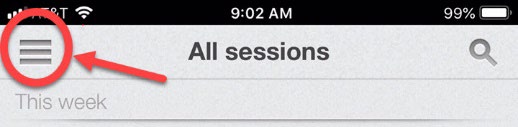
Step 10: Congratulations, you should now see your Panopto account home page, which will say “All Sessions” at the top. Click on the three vertical lines in the upper right corner to watch and record videos.
Record and Upload Video
Note: You will not be able to record a video directly with the Panopto app using an Android. You will need to first record a video with your phone’s camera and then upload into the app.
Step 1: Record a video using your phone’s camera.
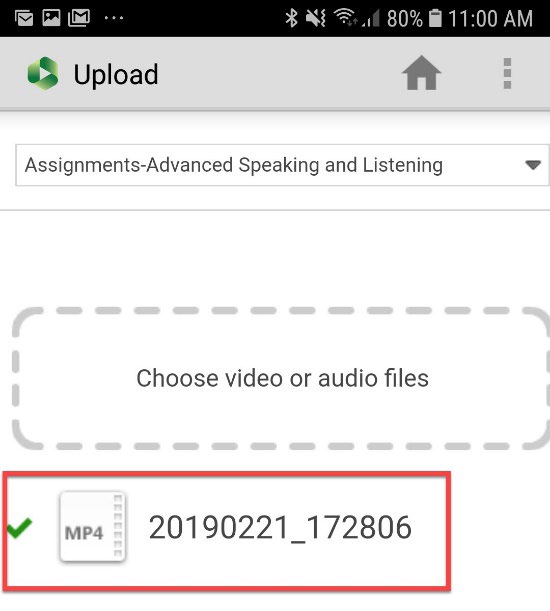
Step 2: Open the Panopto App and click on the upload icon in the toolbar.
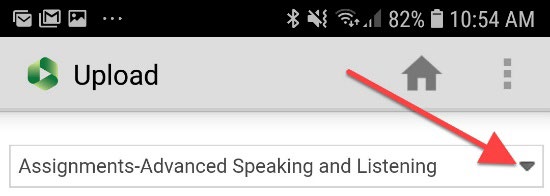
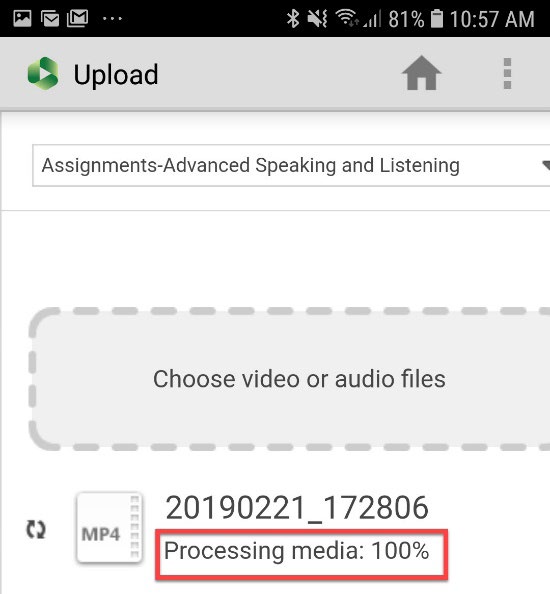
Step 3: Select the folder you wish to record into from the dropdown menu.
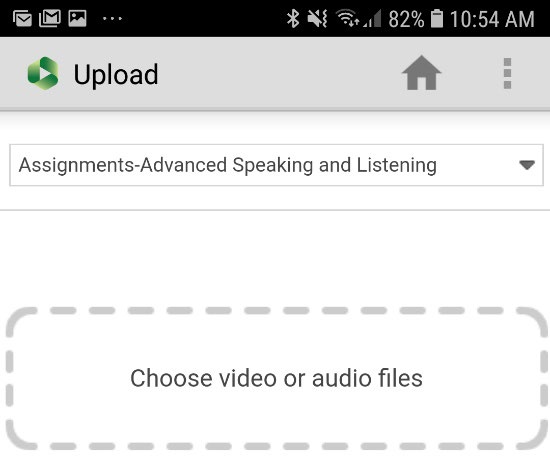
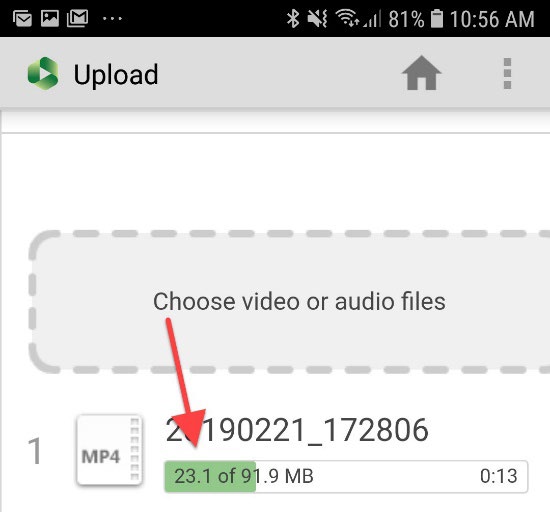
Step 4: Tap the “Choose video or audio files” box.
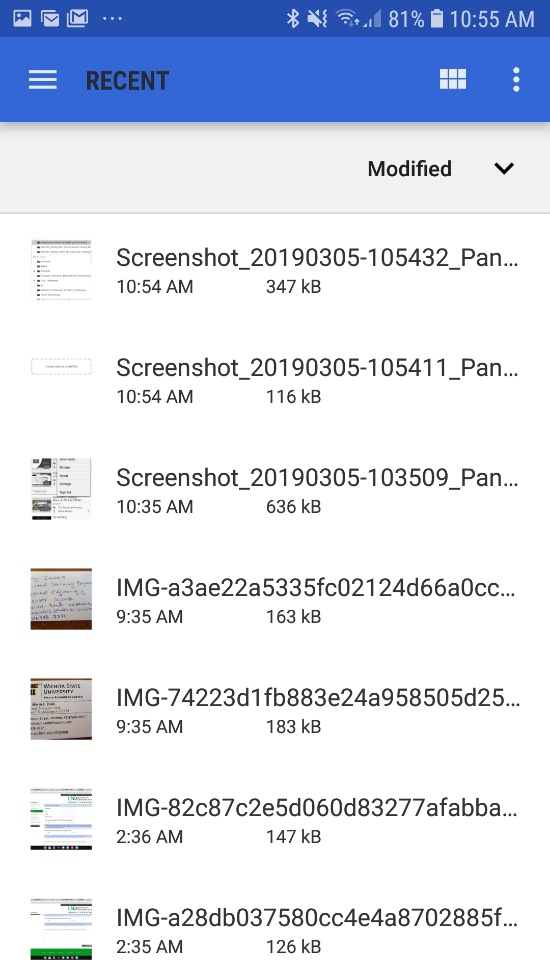
Step 5: Select the location of the video or audio file you want to upload.
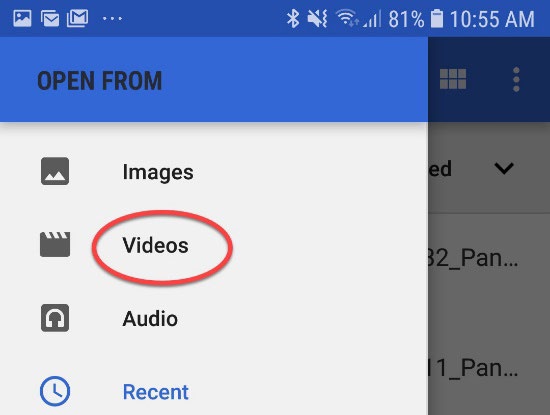
Step 6: Select the file to upload.
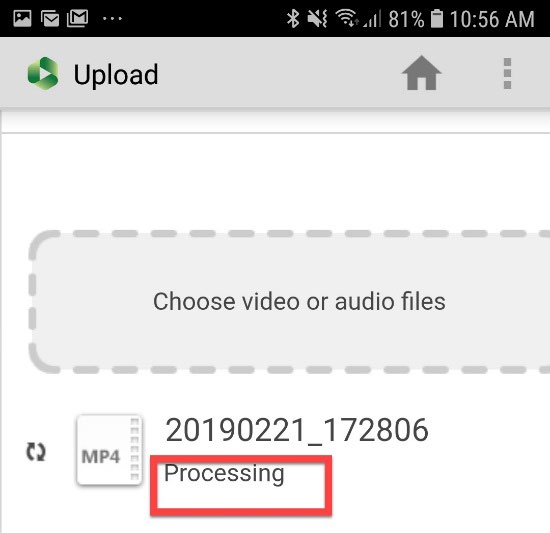
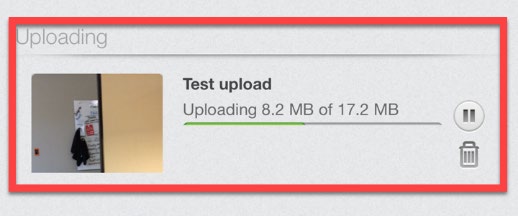
Step 7: Wait for the progress bar and processing.
Install App and Sign In
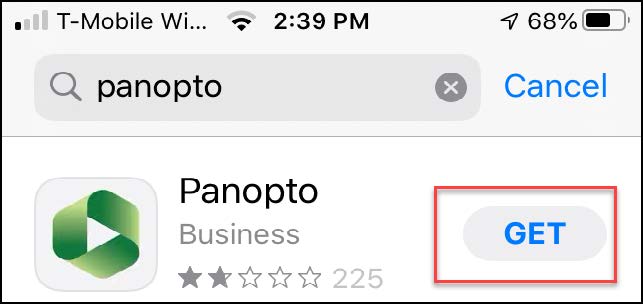
Step 1: Access the app store and search for Panopto.
Step 2: Click to download.
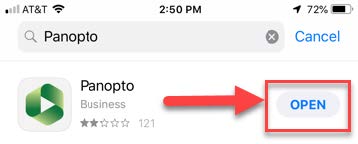
Step 3: Click the open button.
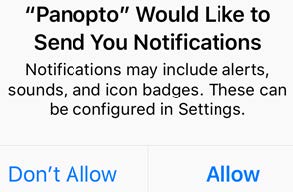
Step 4: Select if you would like notifications from Panopto or not.
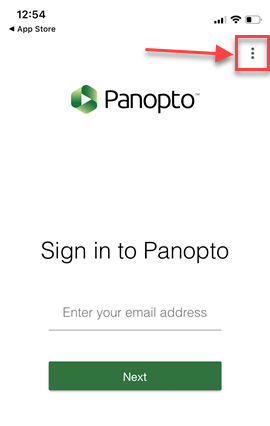
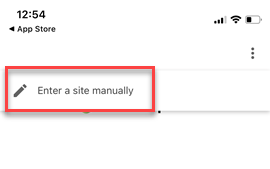
Step 5: Do not enter your email address on this screen. Click on the three vertical dots in the upper-right corner, and then on "Enter a site manually."
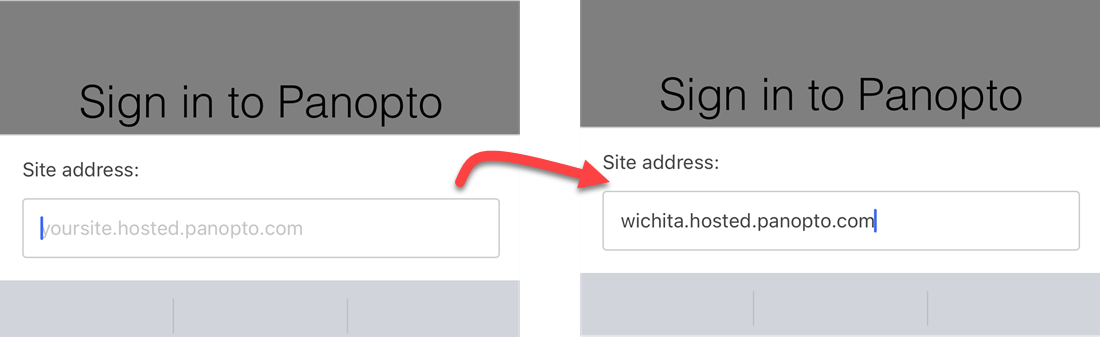
Step 6: In the blank address box, enter “wichita.hosted.panopto.com” and select “return” on the keyboard.
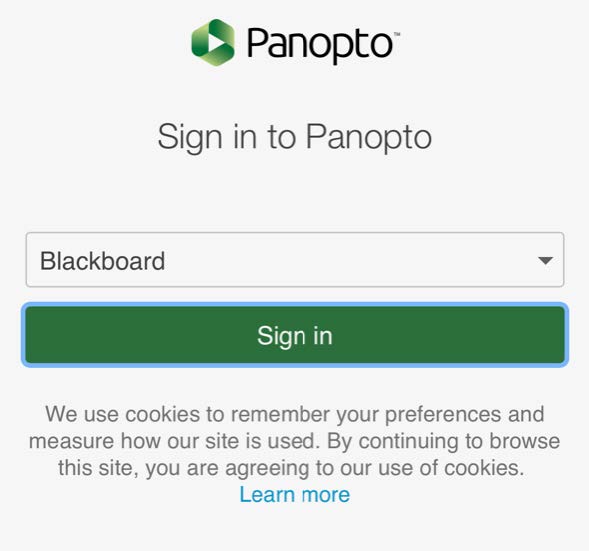
Step 7: Select “Blackboard” from the dropdown menu, if it did not automatically appear. Click the “Sign-in” button.
Step 8: Click the “Agree and Continue” button to accept Panopto’s terms of use.
Step 9: Sign-in using your Blackboard credentials, and click the “Login” button.
Step 10: Congratulations, you should now see your Panopto account home page, which includes "Continue Watching" and "What's New" sections.
Record a Panopto Video
Step 1: Open your Panopto app.
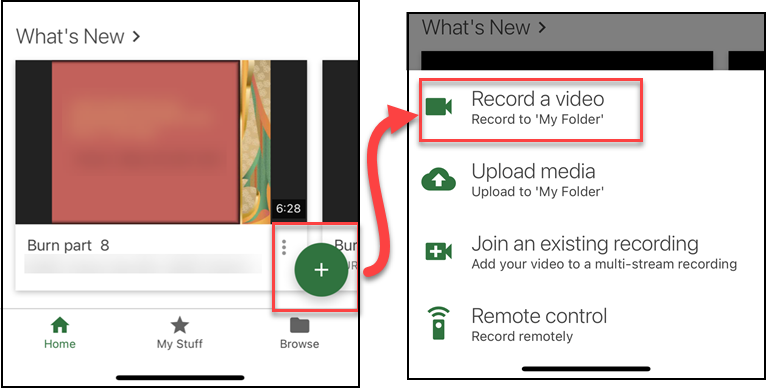
Step 2: Tap the green plus sign on the bottom right of your screen. If this is your first time using the app, you will be asked if Panopto can access your camera and microphone. Select "Record a video." Videos you record are automatically saved in "My Folder."
Step 3: Your camera should default to the rear camera, change if needed. Press the record button and stop the recording by pushing the square button when you are finished.

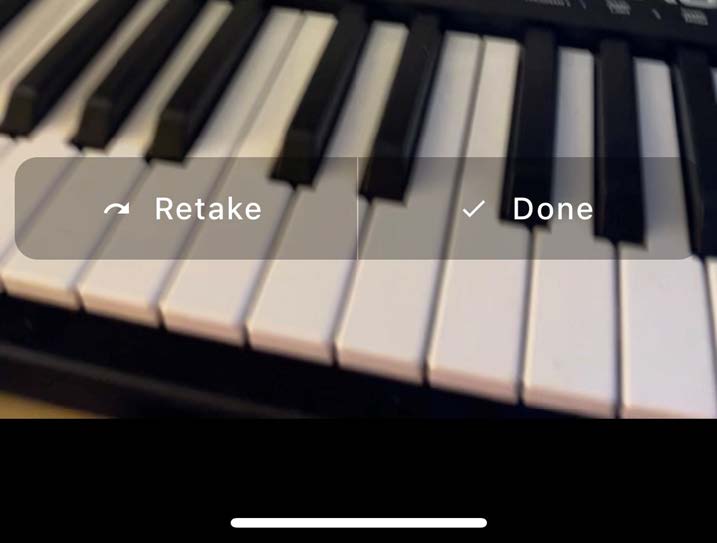
Step 4: After you stop recording, you will have the option to Retake the video, or select Done. If you choose "Retake," Panopto will return to the recording screen.
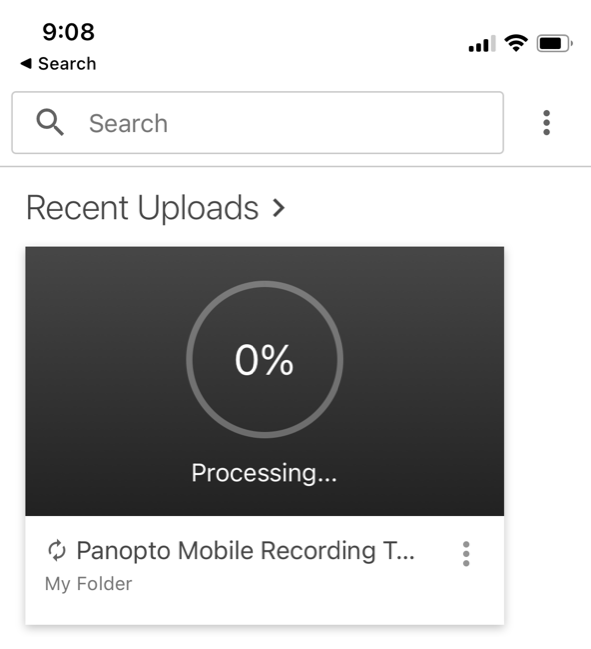
Step 4: When you select "Done," the video shows up as "Processing" in the "My Stuff" tab under "Recent Uploads.
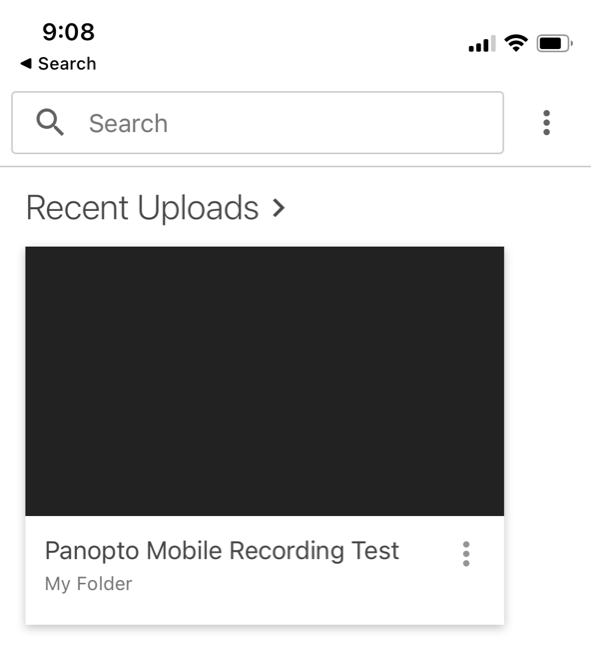
Step 5: Your video is now in your folder in Panopto ready for captioning and editing.
Upload a Video to Panopto
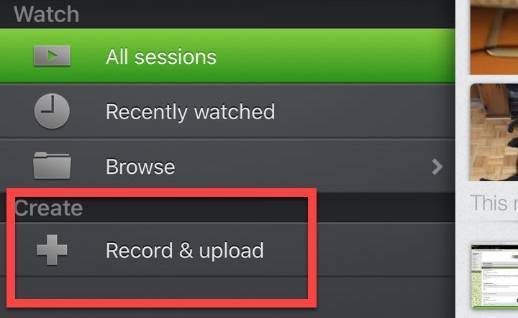
Step 1: Open the Panopto App and click on the three horizontal lines in the upper-left corner.
Step 2: Click on “Record & Upload”
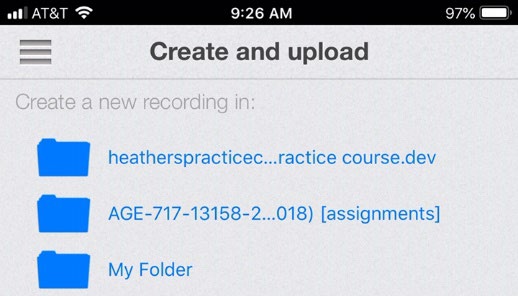
Step 3: Select the Panopto folder you wish to upload to.
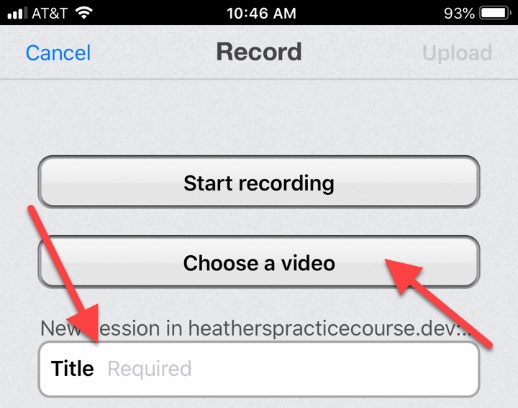
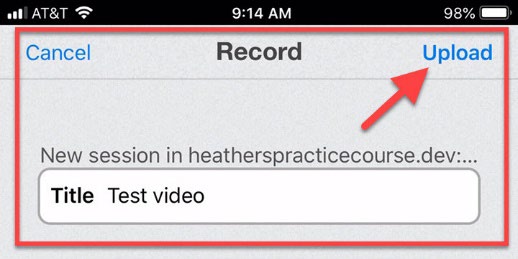
Step 4: Enter a title for the video you are about to upload, and click the “Choose a Video” button.
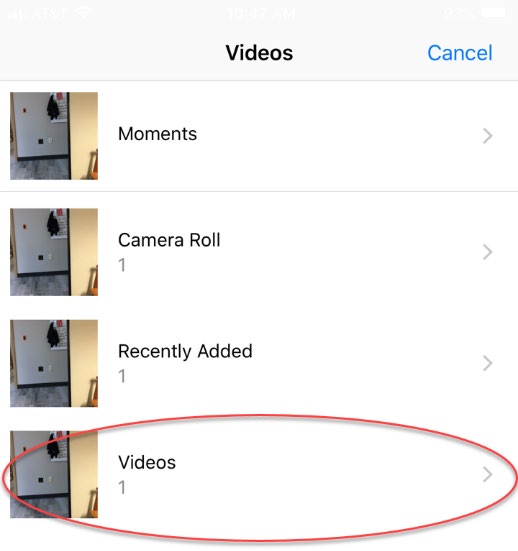
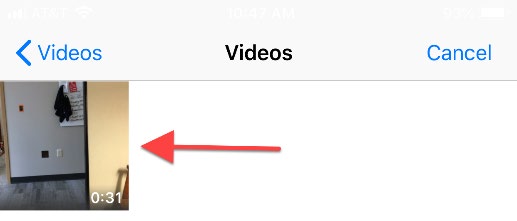
Step 5: A list of folders containing videos on your phone should appear. Select the folder which containd your video.
Step 6: Select the video you want to upload.
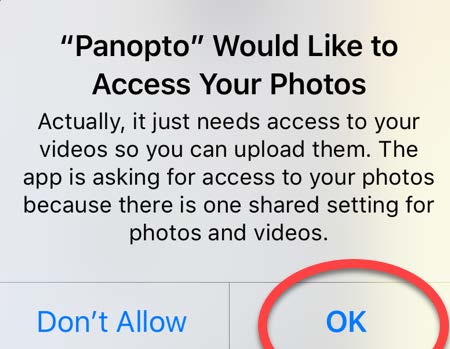
Step 7: Click Okay to allow Panopto to access your video.
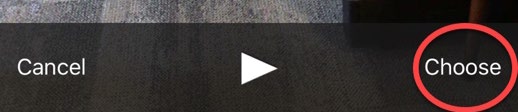
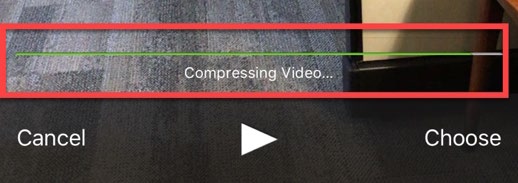
Step 8: Click “Choose” in the lower-right corner and wait while your video is compressed.
Step 9: Click upload in the upper-right corner and wait while your video uploads.
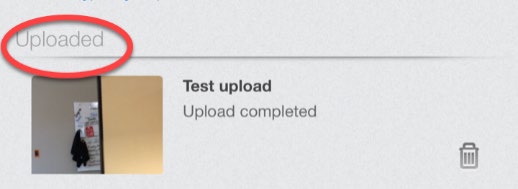
Step 10: Your video is now uploaded to your Panopto content.
Can I use Panopto if I am not using it for a class?
As a student user, your account is established as a viewer account. In order for your account to gain creator abilities, it must be associated with a class and the instructor must create an assignments folder. If you are part of a class and have been asked to create a Panopto video but do not have creation or download options available, please inform your instructor and indicate that they may need to enable the assignment folder in order for students to create videos. (For further assistance, please contact OIR@wichita.edu?)
How do I download the Panopto recorder?
As a student user, your account is established as a viewer account. In order for your account to gain creator abilities, it must be associated with a class and the instructor must create an assignments folder. Once your account has creator rights, you can download the Panopto Recorder from WSU's Panopto website.
- Go to wichita.hosted.panopto.com
- Log in using the Blackboard option from the drop down menu.
- A Blackboard sign-in portal may appear. Use your WSU ID and current password to log in.
- This will bring you to the Panopto homepage.
- In the upper right corner, directly under your name, is an option for downloading the recorder.
- Click the Download button.
- A window will open with the download option best suited to your device.
- Click on the download option and run the file when finished downloading.
- Follow the installer guide when it appears and the Recorder will be successfully installed.
My class says I need permission to view a video. What should I do?
Email your instructor, providing the name of the video and it's location in the course, and let them know that the video indicates you need permissions to view it. In most cases, this is associated with issues related to configuration and is impacting more than just a single video or single user; and the course will need to be reconfigured to resolve the issue. If additional assistance is needed, your instructor should email OIR@wichita.edu so that we can work with the instructor to further troubleshoot the error.
Can I change the way a Panopto video plays on my computer? (eg: turning off secondary video feeds)
Yes. You can choose to select a single video feed to display in full-screen mode or you can switch the primary and secondary feeds as they display during playback (this swaps the two video streams, allowing you to enlarge the small feed while still being able to view the now-smaller one).
During video playback, if you would like to focus on the primary video only (most often this would be your instructor's visage) or on the secondary video only (this may be a PowerPoint, Main-Screen walk through, demonstration...etc.), you can choose to view that video feed in full-screen mode. While the audio and other video feeds will continue to play, you will only see the stream you want in full screen on your monitor.
- To View a Video Stream in Full-Screen Mode:
- Hover over the stream/video feed you want to put into full-screen mode.
- Two icons will appear in the upper right corner.
- Select the second icon, appearing as a "disconnected" square.
- This will put that video stream into full-screen mode.
- To Switch the Video Stream Focus:
- Hover over one of the stream/video feeds.
- Two icons will appear in the upper right corner.
- Select the first icon, appearing as two arrows pointed in the opposite directions.
- This will swap the video feed locations; and adjusting their sizing accordingly.
Does the Panopto phone app work with our Panopto?
Absolutely! The Panopto app is available on iOS and Android devices. To log into the app, follow the steps provided.
- Go to your app store or google play store to download the app.
- Search for "Panopto".
- Download the app called "Panopto". Android users, you may need to complete an install process as well.
- Open the app once it is done downloading and installing.
- In the upper right corner, use the vertical ellipsis mark and select the option to Enter a site manually.
- Enter wichita.hosted.panopto.com into the Site address field and return or enter to connect.
- Your device may open a dialogue box indicating that Panopto wants to use Panopto.com to Sign In; accept or approve the use.
- When prompted with the Panopto sign in page, use Blackboard from the dropdown options.
- Click Sign In.
- A Blackboard sign in portal will appear where you should use your WSU ID and password to sign in.
- You should now be logged into the app.
Can other people see my Panopto videos?
Generally speaking, no. When your instructor creates the video assignments folder that grants you creator rights in Panopto, they will also have the opportunity to allow students to view each other's work. Unless your instructor has specifically chosen to use that setting or you have changed the video's share settings yourself, only you, the instructor, and our WSU/Panopto Admins can see your course videos. Any video you create outside of an assignment folder/course is visible only to you and our WSU/Panopto Admins unless the share settings have been altered after the video was created.
I made a Panopto video for a class. Can I get access to it later?
Yes. As the author of the video, you can access the video in the folder you uploaded it to when you created it. So long as that folder remains open, you have access to it inside of Panopto. Outside of Panopto, your default recording settings should ensure that a copy of your video is saved in a folder on your device, which you can locate and access at any time.
If the folder you uploaded your video to becomes unavailable at any point in the future, please contact the instructor for that course and request that the folder be turned back on to allow you to access the video. If your instructor needs to turn the folder back to "unavailable", you will need to work with your instructor to grant you access temporarily so that you can download or copy the video to a different folder inside of Panopto or to your device.
Can I download my own Panopto videos?
Yes. A copy of your unedited video should remain saved on the device you recorded from unless you have altered those settings. You can search your computer files for "Panopto" and search the internal folders to locate the video file on your device.
If you edited the video or altered your recording settings to avoid saving a copy of the raw video after initial recording, you can download a copy directly from Panopto.
- Go to wichita.hosted.panopto.com and login using Blackboard.
- Locate your video in the folder to which you uploaded it.
- As the author of the video, you can download the video in two ways: from the settings panel or while viewing the video.
- To Download from the Settings Menu:
- Click on the setting button and choose Outputs from the left side menu.
- Then under Video Podcast, choose Download Podcast.
- A pop-up window will appear where you can open or save the video file on your computer.
- To Download the Video While Viewing:
- Click on the video to open in viewing mode.
- In the upper right corner, next to the settings icon is a Download Podcast icon that appears as a small down arrow with a line underneath.
- Click on the icon and a pop-up window will appear where you can open or save the video file on your computer.
- To Download from the Settings Menu: